Unit testing is very critical for any application. In this blog post, I will walk through unit testing using Machine.Specifications (aka MSpecs) and FakeItEasy. The focus of unit testing is to test a unit of code in isolation of everything around it. Meaning we just test the method in questions and not the dependencies. Also following are the aspects we do not test during unit testing:
- File I/O
- Database connectivity
- External service calls
- Message queues/streams
Technically we should be able to unplug our PC from the network and should be able to perform unit testing.
What are the advantages we get out of unit testing
- Testable code encourages better design
- Makes your code/development agile
- Helps in creating maintainable code
- Reduction in cost due to providing agility
- Easier refactoring
Types of testing
There are two types of testing:
Black box: In this, we treat methods like a black box and only parameters used to determine the success of a test are the output from the method.
White box: In this, we look inside the method to see if all the criteria are successfully met. For example in case of an error, if the log message is what we expect.
Integration test
Integration testing is when we test the integration across multiple units. In other words, testing a complete business use case as a single unit. In the case of integration test external integrations like the file I/O, DB, etc. are also in scope.
Machine.Specifications (in short MSpecs)
Machine.Specifications is a unit testing framework. MSpecs uses grammar for describing the specs. The tests written in MSpecs are much more readable. We will be using three main classes of the MSpecs framework.
Subject– Subject is an attribute that is used to markup the class that is in the context of testing.Establish– Establish is a delegate that is used to do the setup for the test.Because– Because is a delegate that takes care of the act part of the test.It– It is a delegate which is for assert.
Testing with MSpecs
First of all, we will define a class which we will use for testing purpose.
For creating a project we will open Visual Studio and navigate to File -> New -> Project and select .NET Core -> Class Library (.NET Core), and name the class as UnitTestDemo.
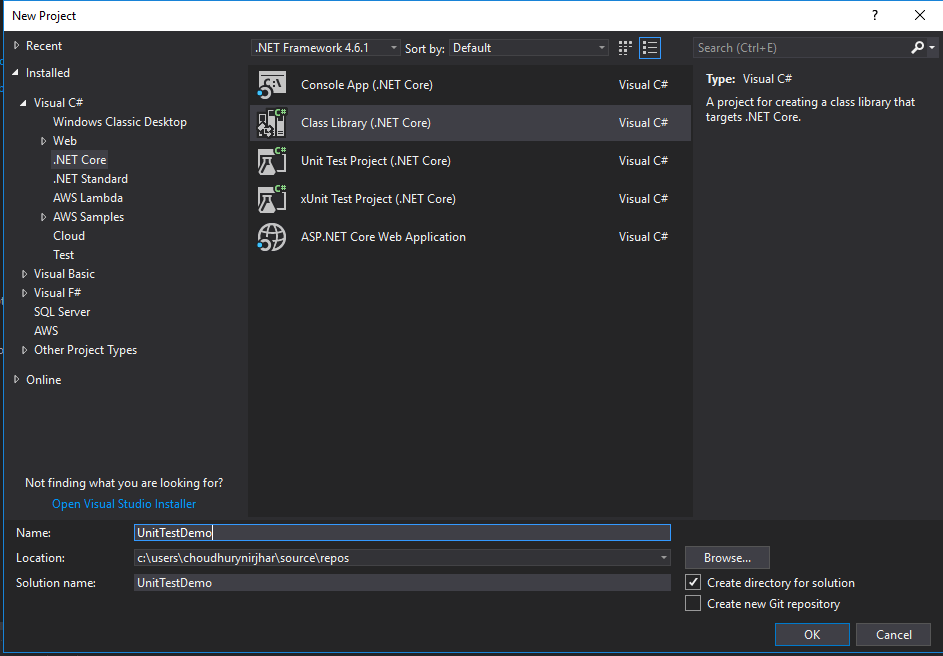
As a part of this project, we will have a user data provider that provides user information from a data source. And a user manager which will contain the business logic.
Testing context
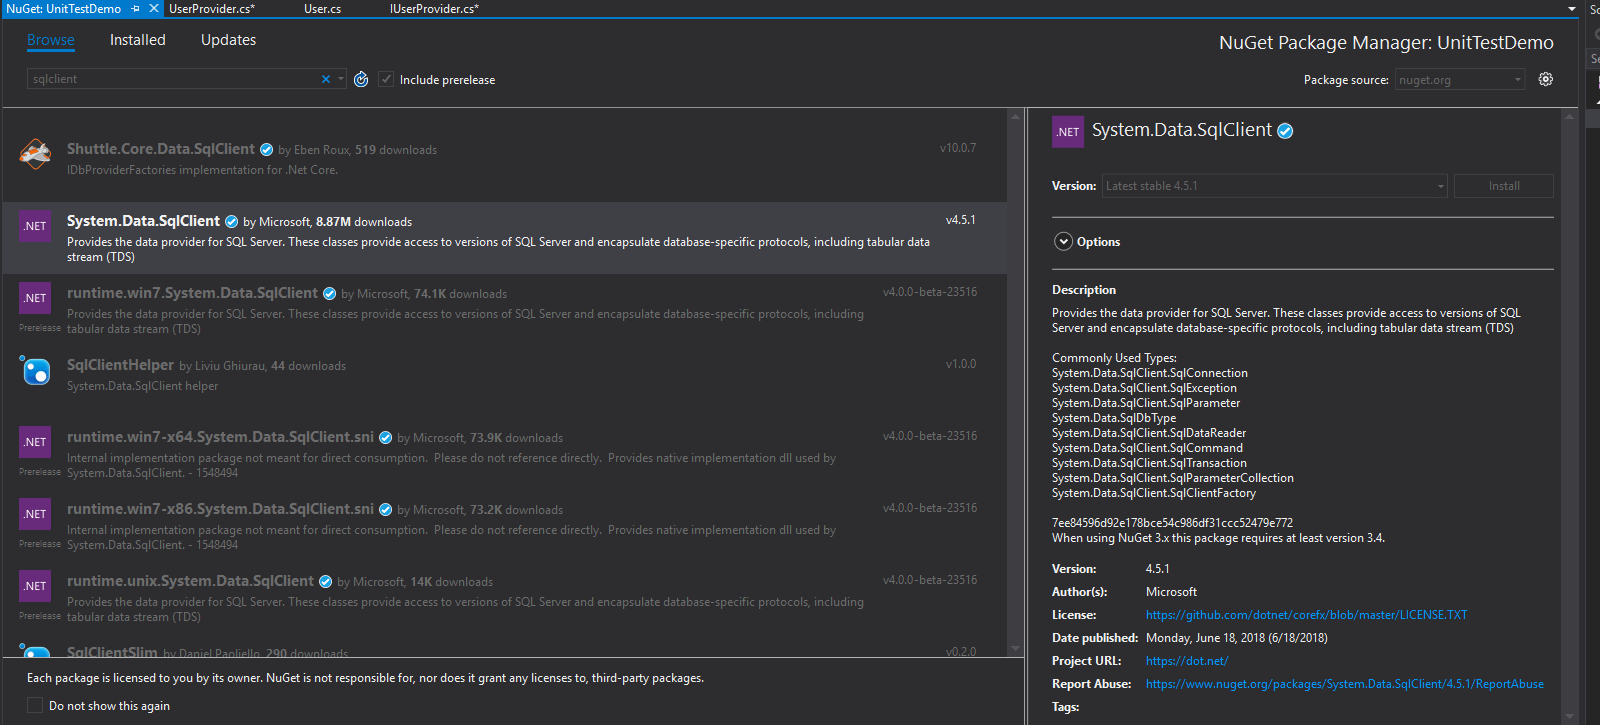
First, we will add System.Data.SqlClient NuGet package to the project.
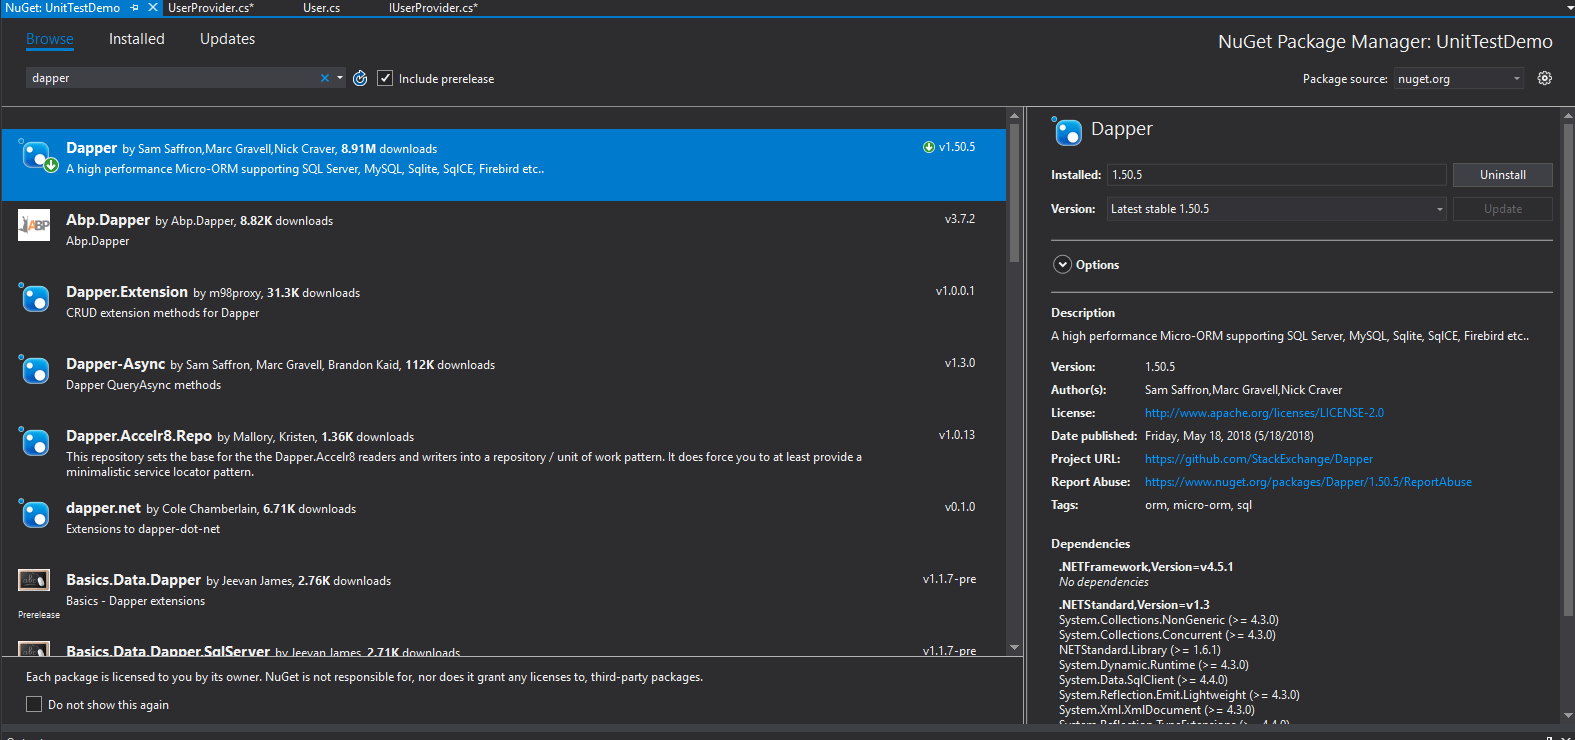
Next, we will add the Dapper NuGet package (if you need more details on Dapper to go through my blog PostgreSQL and Dapper in .Net Core – Part 1)
Finally, we will create the classes for the test context.
public class User
{
    public int UserId { get; set; }
    public string Name { get; set; }
}

public interface IUserProvider
{
    User Get(int userId);
}

public class UserProvider : IUserProvider
{
    private readonly string connectionString;

    public UserProvider(string connectionString)
    {
        this.connectionString = connectionString;
    }

    public User Get(int userId)
    {
        using (var connection = new SqlConnection(connectionString))
        {
            return connection.QueryFirst($"Select userId, name from User where userId = {userId}");
        }
    }
}

public interface IUserManager
{
    User Get(int userId);
}

public class UserManager : IUserManager
{
    private readonly IUserProvider userProvider;

    public UserManager(IUserProvider userProvider)
    {
        this.userProvider = userProvider;
    }

    public User Get(int userId)
    {
        if(userId <= 0)
        {
            throw new ArgumentException($"User id has to be a positive integer. Value passed {userId}");
        }
        return userProvider.Get(userId);
    }
}
Writing the tests
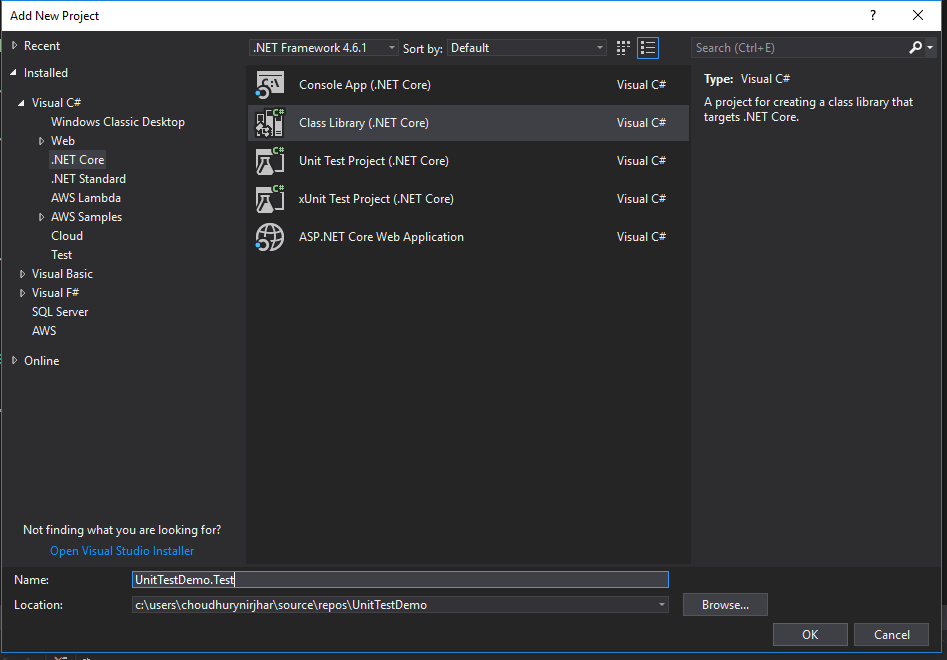
First of all, we will be creating a test project.
Next, we will add the following NuGet packages:
- Machine.Specifications – contains the MSpecs framework.
- The next one is Machine.Specifications.Should – assert framework with should construct
- And finally, Machine.Specifications.VisualStudio and Microsoft.NET.Test.Sdk for us to be able to test from Visual Studio.
For testing the UserManager class, we will create a class for testing the exception scenario when user id is passed as a negative value. Inside the class first, we will establish the context for the test using the Establish delegate. And inside the delegate, we will create the UserManager object.
[Subject(typeof(UserManager))]
public class When_User_Id_Passed_As_Negative_Value
{
    static UserManager Subject; Establish context = () => {
        Subject = new UserManager(<>);
    };
}
For the UserManager object to be created we will need to pass an implementation of IUserProvider, which is the UserProvider class. But since UserProvider uses Dapper to connect to a SQL Server data source we would need to mock the type. And for that, we will be using FakeItEasy.
Using FakeItEasy for mocking
FakeItEasy is an awesome fake framework. It is very simple and straight forward to get going. Now we will be using FakeItEasy to fake the data reader.
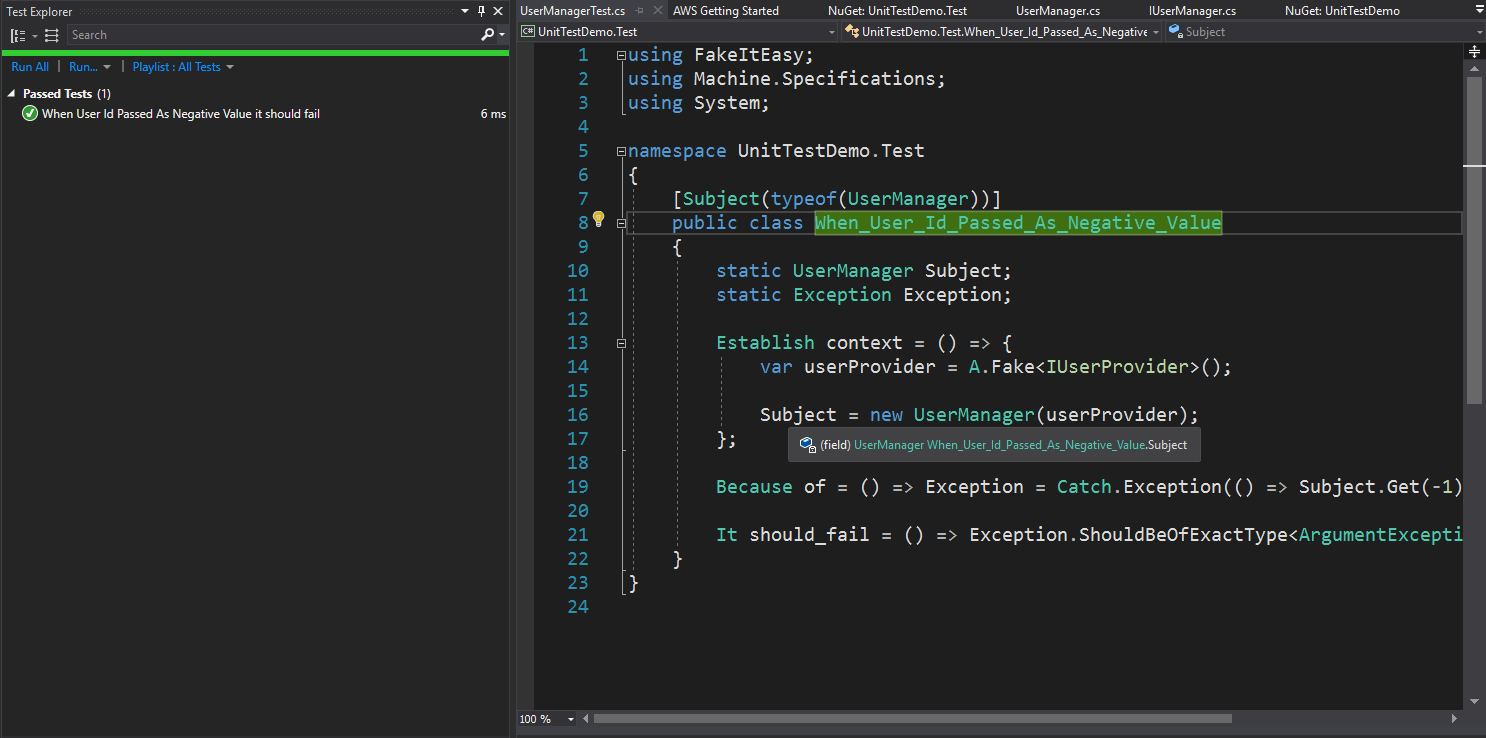
[Subject(typeof(UserManager))]
public class When_User_Id_Passed_As_Negative_Value
{
    static UserManager Subject;
    static Exception Exception;

    Establish context = () =>
    {
        var userProvider = A.Fake();
        Subject = new UserManager(userProvider);
    };

    Because of = () => Exception = Catch.Exception(() => Subject.Get(-1));

    It should_fail = () => Exception.ShouldBeOfExactType();
}
Conclusion
Now we will run the MSPecs tests and see the result. In the output, you can see that the snake case class name for the test class is replaced by a proper English test.
Unit testing with MSpecs and FakeItEasy is very easy and extremely powerful. In my next blog, I will focus on some of the advanced features of MSpecs and FakeItEasy.