RabbitMQ is an open-source message broker. And it is probably one of the most widely used message brokers out there. In my experience, it is one of the most robust message brokers. It is extremely easy to install and use.
RabbitMQ is extremely lightweight and very easy to deploy. It supports multiple protocols. It is highly available and scalable. And finally, it supports multiple operating systems including Windows, Linux, and macOS.
What is a message broker?
You can think of a message broker like a post office. Its main responsibility is to broker messages between publishers and subscribers.
Once a message is received by a message broker from a producer, it routes the message to a subscriber. The message broker pattern is one of the most useful patterns when it comes to decoupling microservices.
The message broker consists of three main components: Producers, Consumers, and Queues.
What is a Producer?
A producer is an application responsible for sending message.
What is a Consumer?
A consumer is an application listening for messages.
What is Queue?
A queue is a storage where messages are stored by the broker.
Protocols Supported by RabbitMQ
RabbitMQ supports multiple protocols. I am going to focus on protocols supported directly by the RabbitMQ and leave out the Plugins.
AMQP 0-9-1
AMQP 0-9-1 is a binary messaging protocol specification. This is the core protocol specification implemented in RabbitMQ. All other protocol support in RabbitMQ is through PlugIns.
Other Protocols supported are
- STOMP – A text-based message protocol
- MQTT – Binary protocol focusing mainly on Publish/Subscribe scenarios.
- AMQP 1.0
- HTTP and WebSocket
Installing RabbitMQ
For installing RabbitMQ, I am going to use a docker install. It is extremely easy to install RabbitMQ using docker. And you will find out that it literally takes a couple of minutes to install it.
The docker image for RabbitMQ image is available here: https://hub.docker.com/_/rabbitmq
There are multiple options available with docker for installation. I will use the following command for installation:
docker run -d --hostname my-rabbit --name ecomm-rabbit -p 15672:15672 -p 5672:5672 rabbitmq:3-management
The above command will install RabbitMQ along with the Management web console. And we will map the ports 15672 and 5672 of the docker container to the host machine.
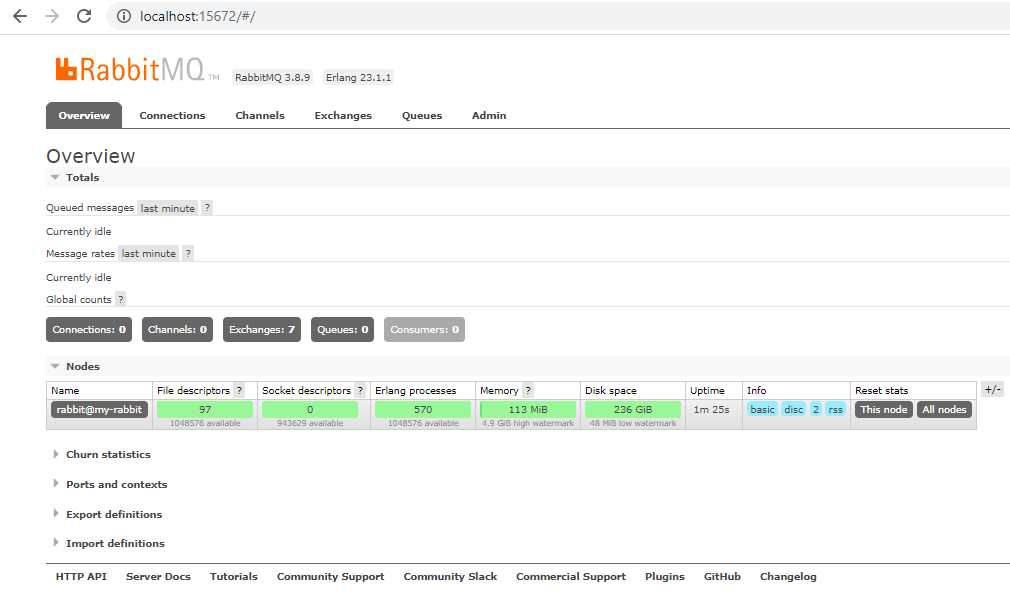
Once the container is installed and running we can go to the url: http://localhost:15672/ and check the management web console.
The default user id and password for management is guest/guest.
Creating an Application for with single Producer/Consumer with a Queue
Firstly, I will create a new ASP.Net Core Web API application. To do that, I will open up Visual Studio 2019. Once Visual Studio opens up, I will select the menu File -> New -> Project. This will open the Create a new Project project popup window.
Secondly, in the Create a new Project popup window, I will select the Console Application (.NET Core) from the project template and click on the Next button.
Thirdly, on the next page, I will provide the name of the application as RabbitMQ.Producerand click on the Create button.
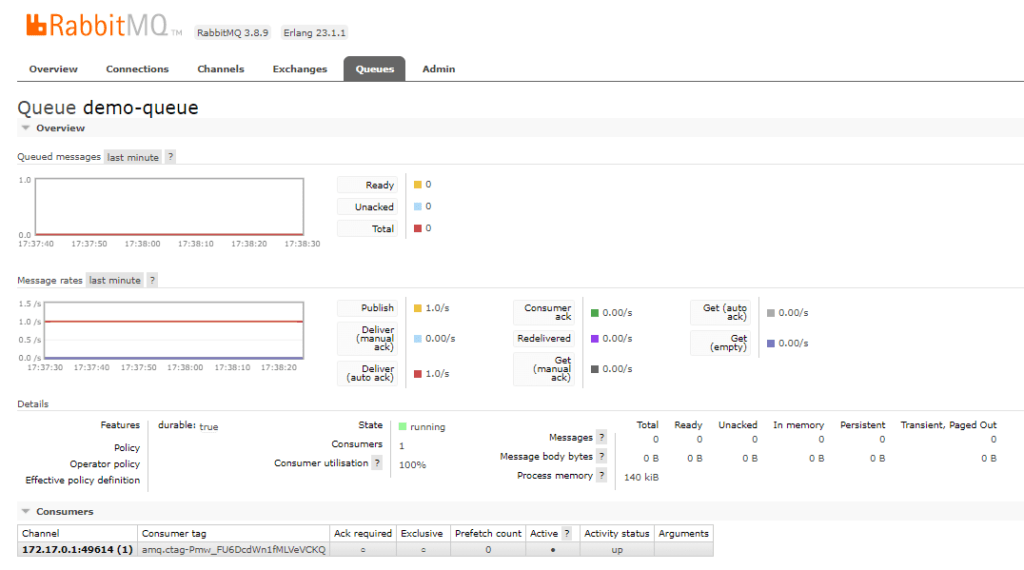
Once the project is created I will create a new class QueueProducer. This class will have a single method to Publish. Inside of the Publish method, I will first declare a queue named “demo-queue”.
For that, I will queue the QueueDeclare method on IModel which is coming in as a parameter. This IModel will be created inside of the Main method, and we will discuss later.
And after that inside of a while loop, I will publish message in a continuous manner.
using Newtonsoft.Json;
using RabbitMQ.Client;
using System.Text;
using System.Threading;

namespace RabbitMQ.Producer
{
    public static class QueueProducer
    {
        public static void Publish(IModel channel)
        {
            channel.QueueDeclare("demo-queue",
                durable: true,
                exclusive: false,
                autoDelete: false,
                arguments: null);
            var count = 0;

            while (true)
            {
                var message = new { Name = "Producer", Message = $"Hello! Count: {count}" };
                var body = Encoding.UTF8.GetBytes(JsonConvert.SerializeObject(message));

                channel.BasicPublish("", "demo-queue", null, body);
                count++;
                Thread.Sleep(1000);
            }
        }
    }
}
Next I will update the Main method in the Program.cs file to call this Publish method.
using RabbitMQ.Client;
using System;

namespace RabbitMQ.Producer
{
    static class Program
    {
        static void Main(string[] args)
        {
            var factory = new ConnectionFactory
            {
                Uri = new Uri("amqp://guest:guest@localhost:5672")
            };
            using var connection = factory.CreateConnection();
            using var channel = connection.CreateModel();
            QueueProducer.Publish(channel);
        }
    }
}
Inside of the Main method, first I will create a new instance of the ConnectionFactory class, passing the URL of the RabbitMQ server installed.
Secondly, I will call CreateConnection on the factory, to create a new connection.
Thirdly, I will call CreateModel on the connection object to create an instance of IModel.
And finally, I will call the Publish method of the QueueProducer class passing the instance of IModel object.
Creating a Consumer
Similar to the publisher project, I will create another .NET Core Console Application for consumer.
Firstly, I will create a new ASP.Net Core Web API application. To do that, I will open up Visual Studio 2019. Once Visual Studio opens up, I will select the menu File -> New -> Project. This will open the Create a new Project project popup window.
Secondly, in the Create a new Project popup window, I will select the Console Application (.NET Core) from the project template and click on the Next button.
Thirdly, on the next page, I will provide the name of the application as RabbitMQ.Consumerand click on the Create button.
Once the project is created, I will create a new class QueueConsumer. Inside of this class, I will have a single method Consume.
Inside of this method, first I will declare the queue “demo-queue”.
Secondly, I will create an instance of the EventingBasicConsumer class and attach a delegate to the Received event handler.
Finally, I will call BasicConsume on the IModel instance to start consuming message from the queue.
using RabbitMQ.Client;
using RabbitMQ.Client.Events;
using System;
using System.Text;

namespace RabbitMQ.Consumer
{
    public static class QueueConsumer
    {

        public static void Consume(IModel channel)
        {
            channel.QueueDeclare("demo-queue",
                durable: true,
                exclusive: false,
                autoDelete: false,
                arguments: null);

            var consumer = new EventingBasicConsumer(channel);
            consumer.Received += (sender, e) => {
                var body = e.Body.ToArray();
                var message = Encoding.UTF8.GetString(body);
                Console.WriteLine(message);
            };

            channel.BasicConsume("demo-queue", true, consumer);
            Console.WriteLine("Consumer started");
            Console.ReadLine();
        }
    }
}
After that I will call the Consume method from the Main method of the Program.cs.
using RabbitMQ.Client;
using System;

namespace RabbitMQ.Consumer
{
    static class Program
    {
        static void Main(string[] args)
        {
            var factory = new ConnectionFactory
            {
                Uri = new Uri("amqp://guest:guest@localhost:5672")
            };
            using var connection = factory.CreateConnection();
            using var channel = connection.CreateModel();
            QueueConsumer.Consume(channel);
        }
    }
}
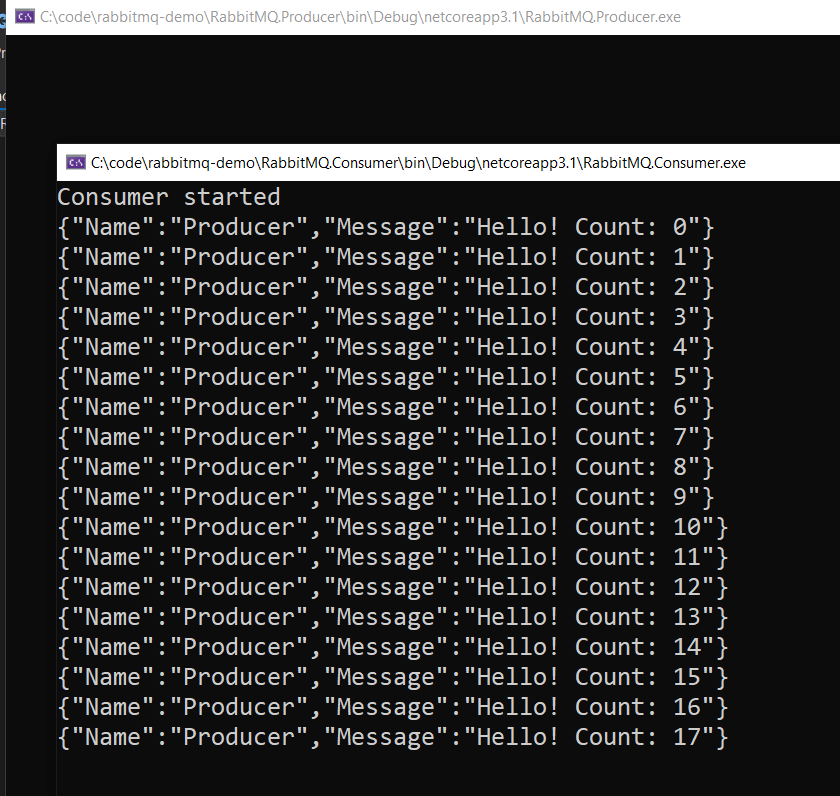
Now, if I run both the applications, I will see messages produced by the Producer are consumed by the Consumer.
What is an Exchange
Exchanges are, exactly what the name suggests. They are exchanges for messages. Just like we have stop exchange, where people exchange stocks, a seller sells stock to a buyer. And exchange acts as a router of the stocks.
Similarly, Exchanges in RabbitMQ routes messages from a producer to a single or multiple consumers.
An Exchange uses header attributes, routing keys, and binding to route messages. (Will discuss in detail later).
In RabbitMQ, in fact, messages are never published to a queue, they always go through an Exchange. Even when we send a message to a queue it uses default exchange. [Exchange: (AMQP default)]
Type of Exchanges
There are four main types of exchanges. Direct, Topic, Header and Fanout.
- Direct exchange uses a routing key in the header to identify which queue the message should be sent to. The routing key is a header value set by the producer. And consumer uses the routing key to bind to the queue. The exchange does the exact match of routing key values.
- The topic exchange also uses a routing key, but it does not do an exact match on the routing key, instead, it does a pattern match based on the pattern.
- Header exchange routes messages based on header values and are very similar to Topic exchange.
- As the name suggests, Fanout exchange routes messages to all the queues bound to it.
I have walked through all exchange types in my YouTube video here:
The source code is available in my GitHub repo here.